
Google Cloud Study Jam이란?
Google Cloud Study Jam은 Google Cloud의 개발자 및 엔지니어들이 더욱 쉽게 GCP에 입문할 수 있도록 돕기 위한 프로그램이다. 참가자들은 Google Cloud Study Jam이 제공하는 Qwiklabs(실습)쿠폰을 활용해 Google Cloud의 기술을 무료로, 온라인으로 학습할 수 있다.
Google Cloud Study Jam 2023 기간 : 2023. 04. 17 ~ 2023. 05. 15
Google Cloud Study Jam 2023 과정 : Kubernetes in the Google Cloud (쿠버네티스 입문반)
※ Kubernetes
Container orchestration system으로, Google Kubernetes Engine은 Google Cloud의 Kubernetes 배포 관리를 지원하기 위해 설계되었다.
사용 목적 : 여러 컨테이너의 배포 프로세스를 최적화(자동화)하기 위해서이다.
영어 강의이며, 실습은 주로 gcloud CLI(Google Cloud CLI)를 활용하여 진행되었다.
Introduction to Docker
Docker : open platform for developing, shipping, and running applications
Tutorial: Hello world
- Docker Hub : image를 저장하는 public registry로 image로부터 container를 생성하고 실행한다.
- Docker daemon는 hello-world image를 local 환경에서 찾을 수 없어 Docker Hub로부터 image를 pull해온다.
- Docker daemon : API 요청을 수신하고 image, container, network, volume과 같은 Docker객체를 관리한다.
- Docker Hub로부터 pull해온 container image를 확인하는 명령어 :
docker images- Docker Hub public registry로부터 pull해온 image의 Image ID는 SHA256 hash 형식으로 되어있다.
- Docker daemon은 local registry로부터 image를 찾아 container를 실행한다. 이 때는 Docker Hub로부터 image를 pull해올 필요 없다.
- 실행 중인 containers를 확인하는 명령어 :
docker psdocker ps -a: Container ID와 실행에 필요한 추가 메타데이터를 보여주는 명령어. Container ID는 Docker에 의해 생성된 UUID로 container를 식별할 수 있다.- Names container은 랜덤하게 생성되었지만
docker run --name \[container-name\] hello-world명령어를 통해 특정지을 수 있다.
Build a Docker image
1) [test]라는 폴더를 생성한 후 [test] 폴더로 변경한다.
2) Docker file을 생성한다.
(ref. Docker file command references)

3) node application을 생성한다.
application 기능 : port 80을 통해 정보를 주고받고 "Hello World"를 반환하는 단순 HTTP 서버
node code
cat > app.js <<EOF
const http = require('http');
const hostname = '0.0.0.0';
const port = 80;
const server = http.createServer((req, res) => {
    res.statusCode = 200;
    res.setHeader('Content-Type', 'text/plain');
    res.end('Hello World\n');
});
server.listen(port, hostname, () => {
    console.log('Server running at http://%s:%s/', hostname, port);
});
process.on('SIGINT', function() {
    console.log('Caught interrupt signal and will exit');
    process.exit();
});
EOF4) image build하기 : docker build -t node-app:0.1
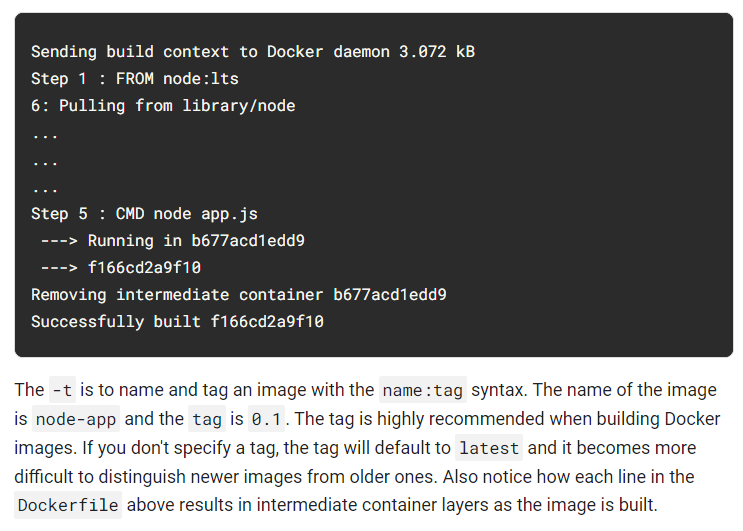
5) docker images 로 image 확인하기
node는 base image이고 node-app은 build한 image이다.
node-app을 먼저 제거한 다음에 node를 제거할 수 있다.

Run containers
1) build한 image에 기반한 containers 실행
docker run -p 4000:80 --name my-app node-app:0.1
- --name : 원하는 container로 명명할 수 있도록 허용
- -p : Docker가 host의 port 4000을 container의 port 80에 mapping하도록 한다. Port mapping없이는 container로 localhost에 접속할 수 없다.
- 이제 서버가 http://localhost:4000에 접속할 수 있다.
2) 다른 터미널을 열어 서버 테스트
curl http://localhost:4000
- container는 초기 터미널이 작동하는 동안 작동한다.
- container가 터미널의 세션에 상관없이 background에서 실행되길 원하면 -d 옵션을 추가해주면 된다.
3) 초기 터미널을 닫고 아래의 명령어를 통해 container를 중지&제거
docker stop my-app && docker rm my-app
4) Background에서 container 시작
docker run -p 4000:80 --name my-app -d node-app:0.1
docker ps
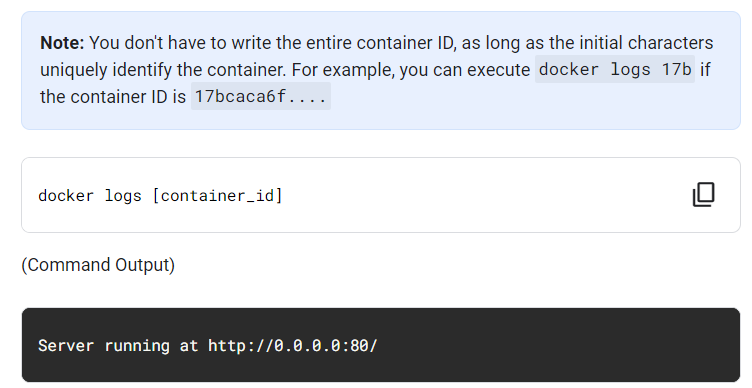
5) container를 실행하는 명령어 : docker ps
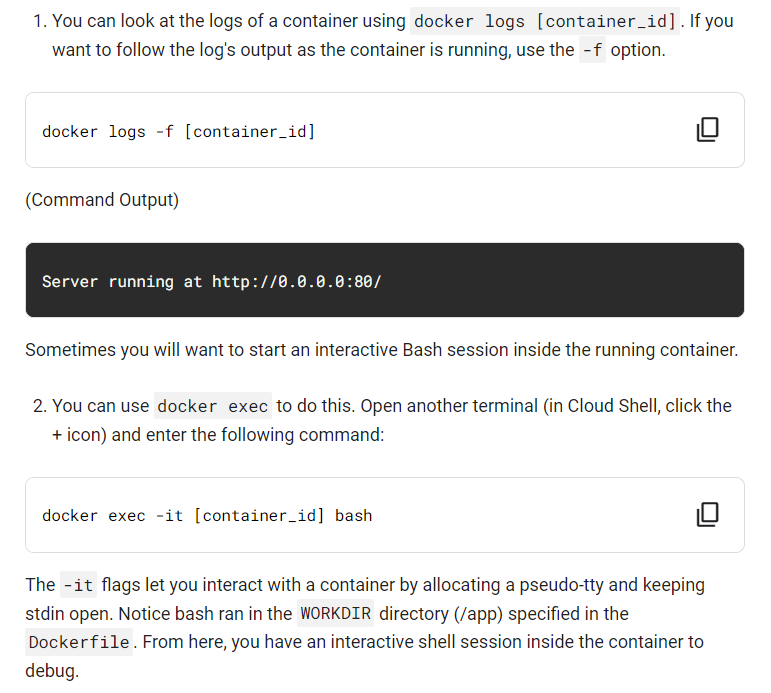
docker logs \[container\_id\] : log를 확인하는 명령어
Application 수정하는 방법


Debugging
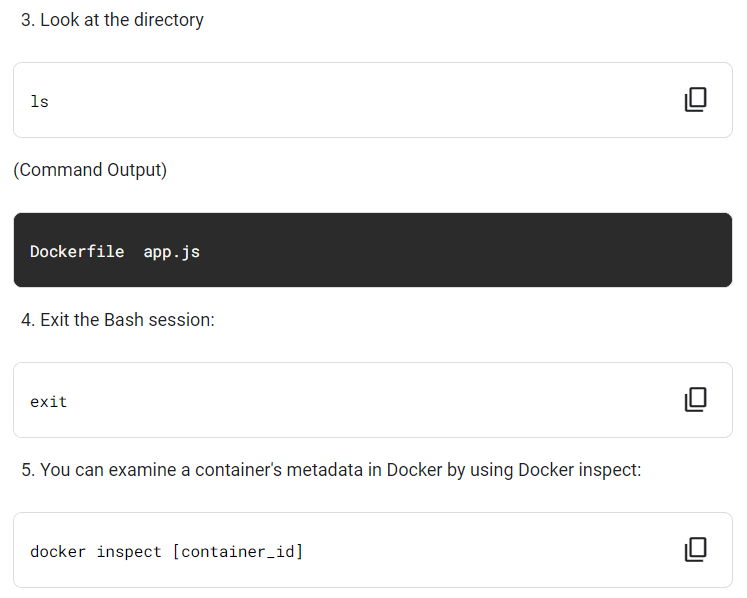
docker exec : container에 특정 명령을 실행할 수 있는 명령어
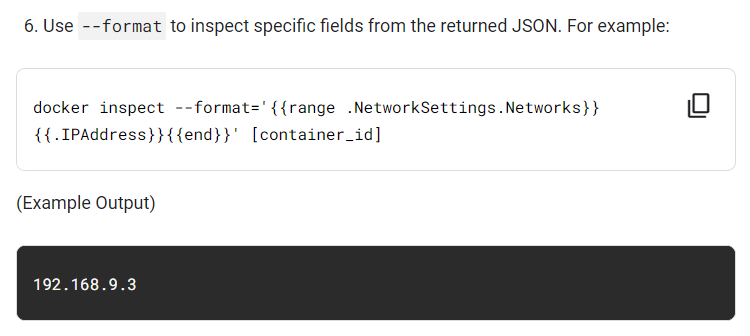
docker inspect : container의 메타데이터를 검사하는 명령어
Publish
Google Artifact Registry에 image를 push한다.
Google Artifact Registry는 container image와 언어 패키지(ex. Maven, npm)를 한 곳에서 관리할 수 있게 해주는 범용 build artifact 관리 도구이다. Google Cloud의 도구 및 런타임과 완벽하게 통합되고 artifact 프로토콜을 기본적으로 지원하므로 CI/CD 도구와 간단하게 통합하여 자동화된 파이프라인을 구축할 수 있다.
이후 새로운 환경을 simulation하기 위해 모든 container와 image를 제거한 다음 container를 pull해 실행한다.
▶ Docker containers의 portability
Artifact Registry에서 host하는 private registry에 image를 push하려면 registry 이름으로 image를 태그해야한다.
<regional-repository>-docker.pkg.dev/my-project/my-repo/my-image
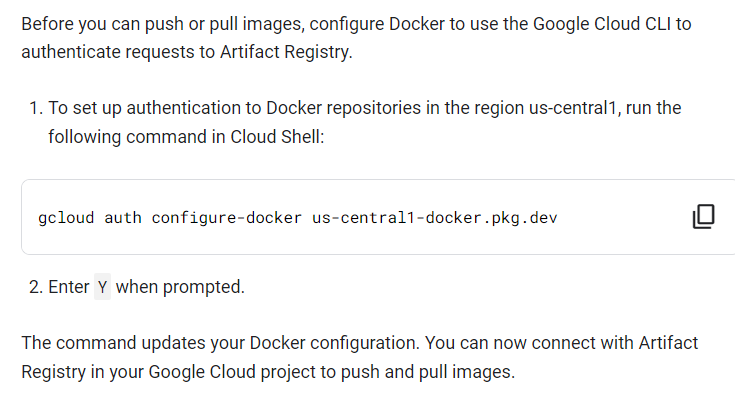
1) Configure authentication
2) Artifact Registry에 container를 push

3) Image test
